When it comes to achieving radiant, glowing skin, nothing beats the power of natural ingredients. DIY natural face masks are an affordable, customizable, and effective way to nourish your skin without exposing it to harsh chemicals.
In this guide, we’ll explore 10 scientifically proven DIY face mask recipes tailored for different skin types. Whether you’re dealing with dryness, oiliness, or sensitivity, there’s a recipe here for you.
Why Choose DIY Natural Face Masks?
Creating your own face masks allows you to use fresh, natural ingredients tailored to your skin’s specific needs. Unlike store-bought masks, DIY options don’t contain preservatives or artificial additives. Plus, they’re budget-friendly and easy to make at home!
Natural Ingredients for Glowing Skin
One of the biggest benefits of DIY face masks is the ability to use 100% natural ingredients. Ingredients like honey, avocado, turmeric, and green tea are packed with vitamins, minerals, and antioxidants that nourish the skin from within. By using these ingredients, you can achieve a natural glow without the need for expensive treatments or products.
Customizable for Every Skin Type
Another advantage of DIY face masks is their versatility. Whether you have dry, oily, sensitive, or combination skin, you can customize the ingredients to meet your specific skincare needs. For example, if your skin is oily, you can add ingredients like clay or tea tree oil to help absorb excess oil and prevent breakouts. If your skin is dry, ingredients like avocado and honey can provide deep hydration.
Cost-Effective Skincare
DIY face masks are not only effective but also cost-efficient. Many of the ingredients needed are common household items or can be easily found at your local grocery store. By making your own masks, you can save money while still enjoying high-quality skincare.
How to Determine Your Skin Type for the Best Results
Understanding your skin type is crucial for selecting the right face mask. Is your skin dry, oily, sensitive, or a combination? Here’s a quick guide to help you determine your skin type:
Dry Skin: Tight, rough, or flaky. Your skin may feel parched and require constant moisturizing.
Oily Skin: Shiny, with visible pores and frequent breakouts. Your skin may produce excess oil, especially in the T-zone (forehead, nose, and chin).
Sensitive Skin: Easily irritated, prone to redness and reactions. Your skin may react to certain products or environmental factors.
Combination Skin: Oily in some areas (like the T-zone) and dry in others. Your skin may require different care for different areas.
By identifying your skin type, you can choose the best DIY natural face mask to help you achieve glowing skin.
Top 10 DIY Natural Face Masks for Glowing Skin
1. Hydrating Honey and Avocado Mask (For Dry Skin)
If your skin is feeling dry and flaky, this hydrating honey and avocado mask is the perfect remedy. Avocado is rich in healthy fats, vitamins, and minerals that nourish and moisturize the skin. Honey, a natural humectant, helps to retain moisture and provides antibacterial properties to keep your skin healthy.
Ingredients:
- ½ ripe avocado
- 1 tablespoon honey
- 1 teaspoon olive oil
Instructions:
- Mash the avocado in a bowl until smooth.
- Add honey and olive oil, mixing well.
- Apply the mask to your face, avoiding the eye area.
- Leave on for 15-20 minutes, then rinse with lukewarm water.
Why It Works: Avocado’s fatty acids help to deeply moisturize dry skin, while honey locks in hydration and soothes irritation. Olive oil adds an extra boost of nourishment, leaving your skin feeling soft and supple.
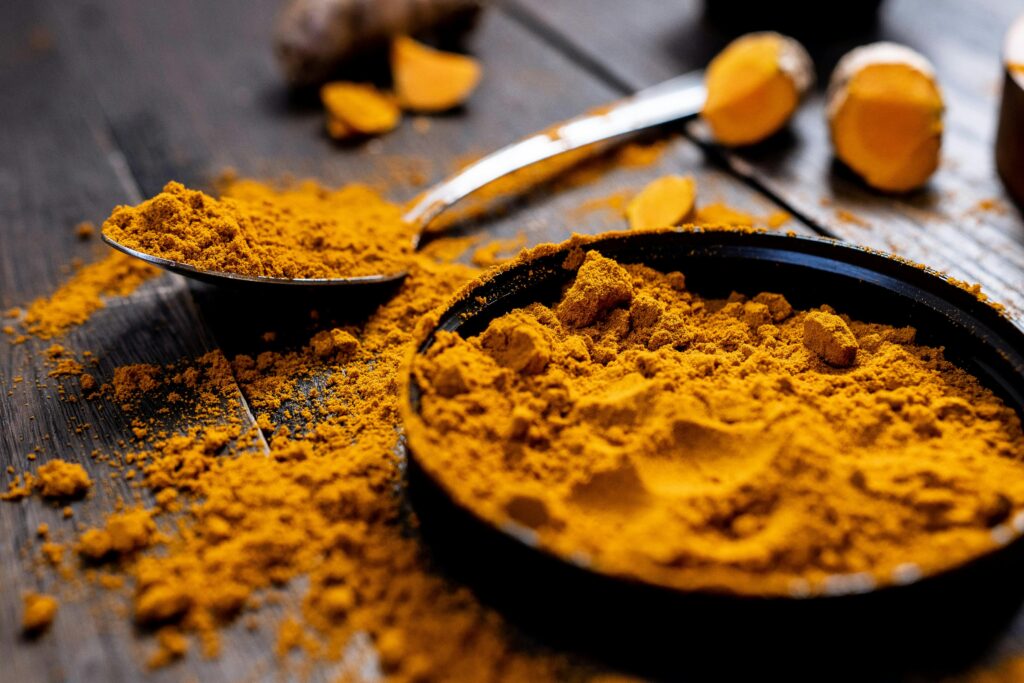
2. Brightening Turmeric and Yogurt Mask (For Dull Skin)
If your skin is looking dull and tired, this brightening turmeric and yogurt mask can help restore your natural glow. Turmeric is known for its anti-inflammatory and antioxidant properties, which can reduce redness and even out skin tone. Yogurt, rich in lactic acid, gently exfoliates the skin, removing dead cells and revealing a brighter complexion.
Ingredients:
- 1 teaspoon turmeric powder
- 2 tablespoons plain yogurt
- 1 teaspoon honey
Instructions:
- Mix turmeric, yogurt, and honey in a bowl until you have a smooth paste.
- Apply the mask evenly to your face.
- Leave on for 10-15 minutes, then rinse off with warm water.
Why It Works: Turmeric’s curcumin fights inflammation and brightens the skin, while yogurt’s lactic acid exfoliates and smooths. Honey adds moisture and helps to calm the skin.
3. Soothing Oatmeal and Aloe Vera Mask (For Sensitive Skin)
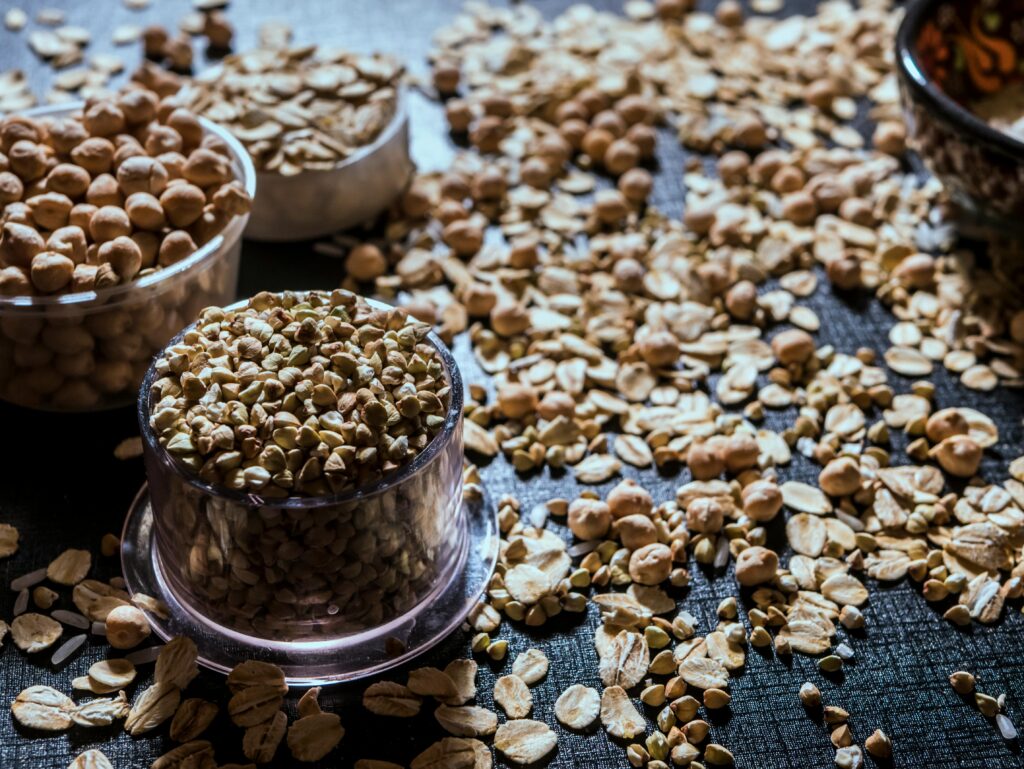
Sensitive skin requires gentle care, and this soothing oatmeal and aloe vera mask is designed to calm irritation and redness. Oatmeal is known for its anti-inflammatory properties, making it ideal for sensitive skin. Aloe vera provides soothing relief, hydrates the skin, and promotes healing.
Ingredients:
- 2 tablespoons oatmeal
- 2 tablespoons aloe vera gel
- 1 teaspoon honey
Instructions:
- Blend the oatmeal into a fine powder.
- Mix the oatmeal powder with aloe vera gel and honey.
- Apply the mask to your face and leave it on for 15 minutes.
- Rinse with cool water and pat dry.
Why It Works: Oatmeal calms irritated skin, aloe vera soothes and hydrates, and honey adds a layer of moisture, making this mask perfect for sensitive skin.
4. Acne-Fighting Tea Tree and Clay Mask (For Oily Skin)
For those with oily and acne-prone skin, this tea tree and clay mask can help absorb excess oil and reduce breakouts. Clay is known for its ability to draw out impurities and toxins from the skin, while tea tree oil has antibacterial properties that can help fight acne-causing bacteria.
Ingredients:
- 1 tablespoon bentonite clay
- 2-3 drops tea tree oil
- Water (enough to form a paste)
Instructions:
- Mix the clay and tea tree oil in a bowl.
- Add water gradually until a smooth paste forms.
- Apply the mask to your face, focusing on oily areas.
- Leave on for 10-15 minutes, then rinse with warm water.
Why It Works: Clay effectively absorbs excess oil and unclogs pores, while tea tree oil targets acne and reduces inflammation, making this mask a powerful solution for oily skin.

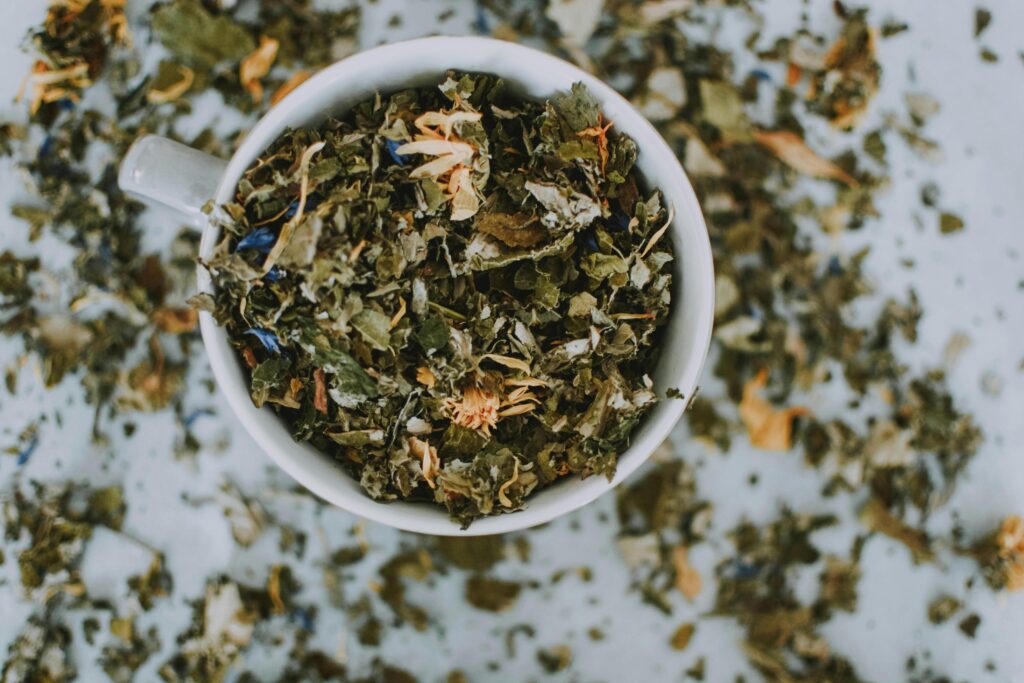
5. Anti-Aging Green Tea and Honey Mask (For Mature Skin)
Green tea is packed with antioxidants that fight free radicals and reduce the signs of aging. Combined with honey, which hydrates and soothes, this mask can help mature skin appear firmer and more youthful.
Ingredients:
- 1 green tea bag (or 1 teaspoon loose green tea)
- 1 tablespoon honey
- 1 teaspoon lemon juice (optional for brightening)
Instructions:
- Brew the green tea and let it cool.
- Mix the tea with honey (and lemon juice if using).
- Apply the mask to your face and leave it on for 15-20 minutes.
- Rinse with warm water.
Why It Works: Green tea’s antioxidants combat aging signs, honey moisturizes and smooths, and lemon juice can brighten dark spots, making this mask a go-to for mature skin.
6. Exfoliating Coffee and Coconut Oil Mask (For All Skin Types)
This exfoliating coffee and coconut oil mask is suitable for all skin types and is particularly effective for removing dead skin cells and revealing a fresh, glowing complexion. Coffee grounds act as a natural exfoliant, while coconut oil moisturizes and nourishes the skin.
Ingredients:
- 1 tablespoon coffee grounds
- 1 tablespoon coconut oil
- 1 teaspoon honey
Instructions:
- Mix coffee grounds with coconut oil and honey.
- Gently massage the mixture onto your face in circular motions.
- Leave on for 10 minutes, then rinse with lukewarm water.
Why It Works: Coffee grounds exfoliate dead skin cells, coconut oil provides deep hydration, and honey helps lock in moisture, leaving your skin smooth and radiant.

7. Refreshing Cucumber and Mint Mask (For Combination Skin)
Combination skin can be tricky to care for, but this refreshing cucumber and mint mask is designed to balance both oily and dry areas. Cucumber cools and hydrates the skin, while mint has astringent properties that help control oil production.
Ingredients:
- ½ cucumber, blended
- 5-6 fresh mint leaves, crushed
- 1 tablespoon yogurt
Instructions:
- Blend the cucumber until smooth.
- Mix the cucumber with crushed mint leaves and yogurt.
- Apply the mask to your face, focusing on the T-zone.
- Leave on for 15 minutes, then rinse with cool water.
Why It Works: Cucumber hydrates and soothes, mint refreshes and tones, and yogurt adds moisture and helps balance the skin’s pH.

8. Nourishing Banana and Almond Oil Mask (For Dry Skin)
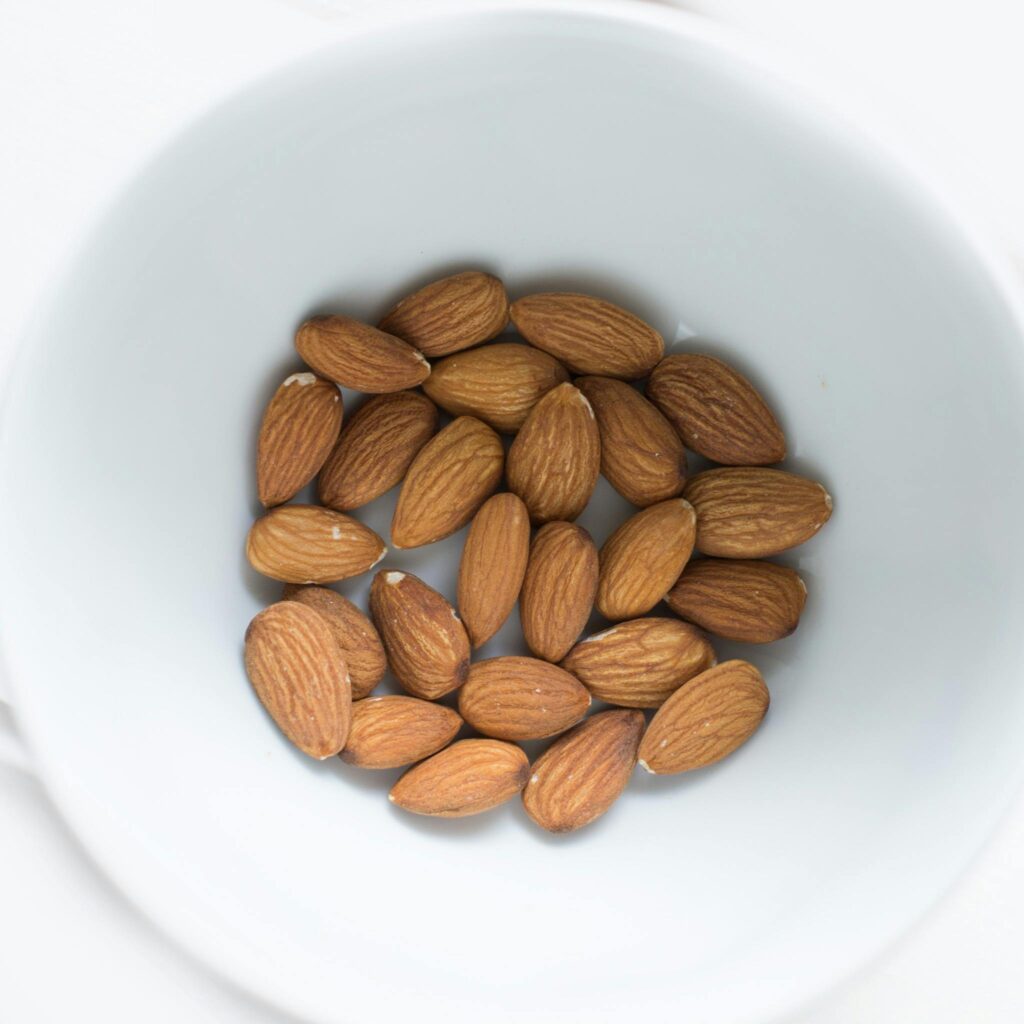
This nourishing banana and almond oil mask is perfect for dry skin that needs an extra dose of moisture. Bananas are rich in potassium and vitamins that hydrate and soften the skin, while almond oil provides essential fatty acids that nourish deeply.
Ingredients:
- ½ ripe banana
- 1 teaspoon almond oil
- 1 teaspoon honey
Instructions:
- Mash the banana in a bowl.
- Mix in almond oil and honey until you have a smooth paste.
- Apply the mask to your face and leave it on for 15-20 minutes.
- Rinse with warm water.
Why It Works: Bananas hydrate and replenish dry skin, almond oil nourishes and softens, and honey seals in moisture, making this mask a luxurious treat for your skin.
9. Detoxifying Charcoal and Rosewater Mask (For Oily Skin)
If your skin is prone to oiliness and breakouts, this detoxifying charcoal and rosewater mask can help purify your complexion. Charcoal is known for its ability to absorb toxins and impurities, while rosewater balances the skin’s pH and soothes irritation.
Ingredients:
- 1 tablespoon activated charcoal powder
- 2 tablespoons rosewater
- 1 teaspoon aloe vera gel
Instructions:
- Mix charcoal powder with rosewater and aloe vera gel.
- Apply the mask to your face, avoiding the eye area.
- Leave on for 10-15 minutes, then rinse with cool water.
Why It Works: Charcoal draws out impurities and excess oil, rosewater tones and soothes, and aloe vera hydrates and calms the skin, making this mask ideal for oily skin.

10. Calming Chamomile and Honey Mask (For Sensitive Skin)
Sensitive skin needs gentle, soothing care, and this calming chamomile and honey mask provides just that. Chamomile is known for its anti-inflammatory properties, while honey hydrates and heals.
Ingredients:
- 1 chamomile tea bag
- 1 tablespoon honey
- 1 teaspoon aloe vera gel
Instructions:
- Brew the chamomile tea and let it cool.
- Mix the tea with honey and aloe vera gel.
- Apply the mask to your face and leave it on for 15-20 minutes.
- Rinse with lukewarm water.
Why It Works: Chamomile calms irritation, honey moisturizes and heals, and aloe vera soothes and hydrates, making this mask perfect for sensitive skin.
The Science Behind These Masks: Why These Ingredients Work
Every ingredient in these DIY natural face masks has been carefully chosen for its proven effectiveness in skincare. Here’s a closer look at the science behind some of the key ingredients:
Avocado: Rich in healthy fats, vitamins E and C, and antioxidants, avocado deeply nourishes and hydrates the skin, making it ideal for dry skin types.
Honey: A natural humectant, honey helps retain moisture in the skin. It also has antibacterial properties, making it effective for acne-prone skin.
Turmeric: Curcumin, the active compound in turmeric, has powerful anti-inflammatory and antioxidant properties, making it effective for reducing redness and brightening the skin.
Green Tea: Packed with polyphenols, green tea fights free radicals that contribute to aging. It also has anti-inflammatory properties that can help reduce puffiness and dark circles.
Clay: Known for its ability to absorb oil and impurities, clay is a staple in masks for oily and acne-prone skin.
Charcoal: Activated charcoal is highly porous, allowing it to absorb toxins and impurities from the skin, making it a popular choice for detoxifying masks.
By using these ingredients in your DIY face masks, you’re not only treating your skin to the best that nature has to offer, but you’re also tapping into the scientific benefits that have been proven to enhance skin health.
How to Apply DIY Face Masks for Maximum Results
To get the best results from your DIY natural face mask, it’s important to follow the correct application techniques. Here are some tips to help you achieve glowing skin:
- Cleanse Your Skin First: Before applying a face mask, always cleanse your skin to remove any dirt, oil, or makeup. This ensures that the mask can penetrate your skin more effectively.
- Apply Evenly: Use a clean brush or your fingertips to apply the mask evenly across your face, avoiding the eye and lip areas. Make sure to cover your entire face for balanced treatment.
- Leave It On: Allow the mask to sit on your skin for 10-20 minutes, depending on the ingredients and your skin type. This gives the active ingredients enough time to work.
- Rinse Thoroughly: Use lukewarm water to rinse off the mask, gently massaging your skin in circular motions to remove any residue. Pat your face dry with a clean towel.
- Moisturize: After rinsing off the mask, apply a hydrating moisturizer to lock in the benefits and keep your skin soft and supple.
By following these tips, you’ll ensure that your DIY face masks are not only effective but also a relaxing and enjoyable part of your skincare routine.
Frequently Asked Questions about DIY Natural Face Masks
As you start incorporating DIY natural face masks into your skincare routine, you may have some questions. Here are answers to some of the most common queries:
How often should I use DIY face masks?
You can use these masks 1-3 times per week, depending on your skin type and the ingredients in the mask. For example, hydrating masks can be used more frequently, while exfoliating masks should be used less often to avoid over-exfoliation.
Can I store these masks for later use?
Since these masks are made with fresh ingredients, it’s best to use them immediately after preparation. If you need to store them, keep them in an airtight container in the refrigerator for up to 2-3 days. Always check for any changes in smell or texture before using stored masks.
Are there any side effects to using DIY face masks?
While DIY face masks use natural ingredients, it’s still important to perform a patch test before applying a new mask to your entire face. This helps to ensure that you don’t have any allergic reactions to the ingredients. If you experience any redness, itching, or irritation, discontinue use immediately.
Can these masks be used on other parts of the body?
Yes, many of these masks can be used on other parts of the body, such as the neck, chest, and hands. These areas can also benefit from the moisturizing, exfoliating, and brightening effects of the masks.
What should I do if a mask feels too tight or uncomfortable?
If a mask starts to feel too tight or uncomfortable, it’s best to rinse it off immediately. Masks containing ingredients like clay or charcoal may tighten as they dry, so keep an eye on how your skin feels during use.
Embrace Natural Beauty with DIY Face Masks
By incorporating these DIY natural face masks into your skincare routine, you’re not only treating your skin to the best that nature has to offer, but you’re also taking control of your beauty regimen. Each mask is tailored to a specific skin type, ensuring that everyone can enjoy glowing, healthy skin. Whether you’re looking to hydrate dry skin, brighten a dull complexion, or combat acne, there’s a DIY face mask recipe here for you.
Share Your Results and Join the Conversation!
We’d love to hear about your experiences with these masks! Which one was your favorite? Do you have a recipe of your own to share? Leave a comment below and let’s keep the conversation going. Also, don’t forget to subscribe to our newsletter for more DIY beauty tips and skincare advice.
